When I taught First Grade (a million moons ago) our school did something called a Welcome Walk. The day before supply drop off night, the teachers would drive around to all the kids’ houses in their class and surprise them to say “I’m your teacher!”
As a teacher, I remember it being so hot and excruciating (100+ in August in TX), but really cool too. It was great to be able to see where each child came from and get a glimpse into their home lives.
Sometimes they gave you things. One time a little girl gave me an apple. It rolled under the passenger side seat in my car and I found it at Christmas Break! Luckily it had just dehydrated and not rotted.
Since Connor started school, I’ve tried to come up with cute gifts for him to take to his teachers.
Teacher Gift Idea
In recent months, my Silhouette Cameo and I have come to good working terms (it only took 2 years).
I’ve been using it to make some really cute t-shirts for my new Etsy shop, so I thought I’d try my hand at using it for a cute teacher gift too.
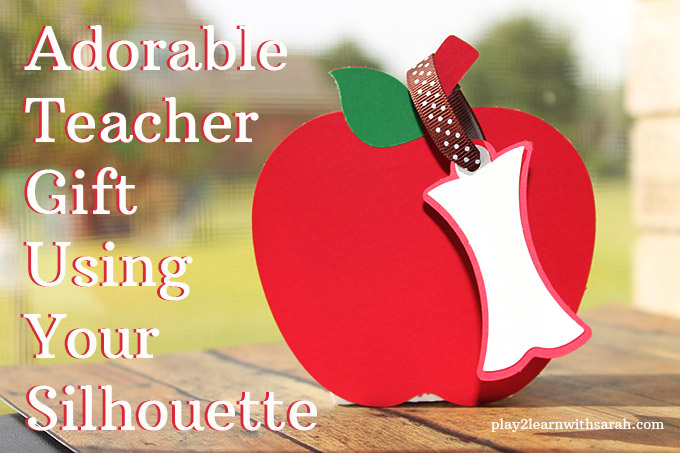
First I downloaded the 3d apple favor box – it’s on sale for only $0.75 right now.
I got out my white, red and brown cardstock.
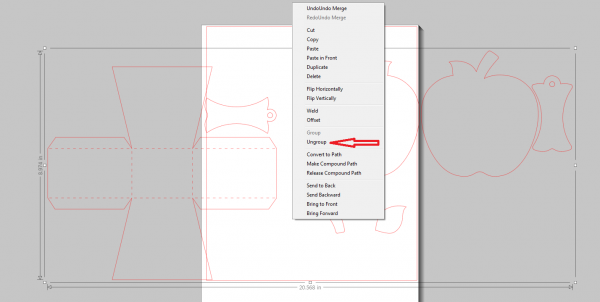
When you open up the apple favor box in your Silhouette program, the first thing you want to do is ungroup (right click and select) all the images so that you can cut the ones you want on each color.
I made the main box and the inside part of the apple core white, so I started with the 2 images to the left in the image above and moved everything else out into the gray section. Just set your settings for cardstock, place it on the cutting mat and tell it to go.
Then once those have been cut, remove the mat from the machine and cardstock from the mat. Move those shapes over into the gray and put the apples and other apple core into the white section. Do not resize anything at this point or it won’t all fit together correctly. Use your red cardstock and cut.
Then if you want to do a green leaf, just move everything else off and only cut the leaf. Do the same for the brown stem if you wish (I didn’t do the stem).
Then you punch everything out and assemble with a glue stick. It’s super easy!
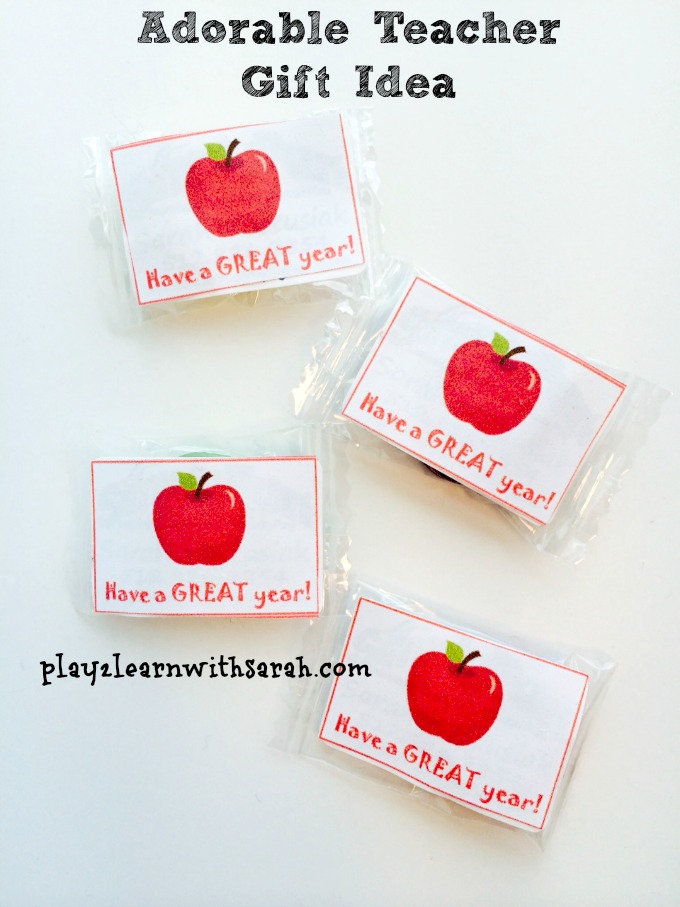
I filled mine with Lifesavers with “Have a Great Year!” on them (print those here) and attached the name card with a cute ribbon.
If you don’t have a Silhouette (or you haven’t grown to love it as I now have), you’re missing out on some seriously cute projects!
Here are a few other crafts I’ve posted using my Silhouette:
Stop by my Etsy shop to see my latest fun t-shirts!
Disclosure: This site is an Amazon affiliate site. All opinions are 100% my own.
