Last year I asked my husband to help me find my own space in the house where I could work on my online business.
So he built me a really cool little desk in the closet of the spare bedroom downstairs.
It was sooo cute…and sooo small.
It also happened to be located right behind the fireplace…which blocked most of the wifi from getting to my laptop (see my problem?)
So I’ve been wracking my brain for a few months to figure out what I could do to have all of my stuff in one place.
And just before the holiday break it hit me…take over the formal living area. The kids don’t need the toys downstairs any more.
So we moved things up and out and my husband set to work on building me a desk that would fit the space….and since it needed to match the rest of the furniture…
this IKEA inspired desk was born!
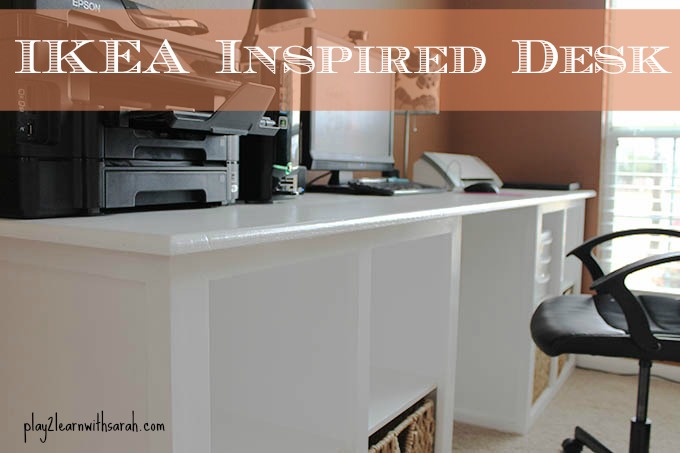
DIY IKEA Inspired Desk
We didn’t do a good job of taking pictures along the way, but I asked him to tell me some of the basics so that’s what I’ll share here with you today.
First, let’s take a look at what became of my cute little closet desk.
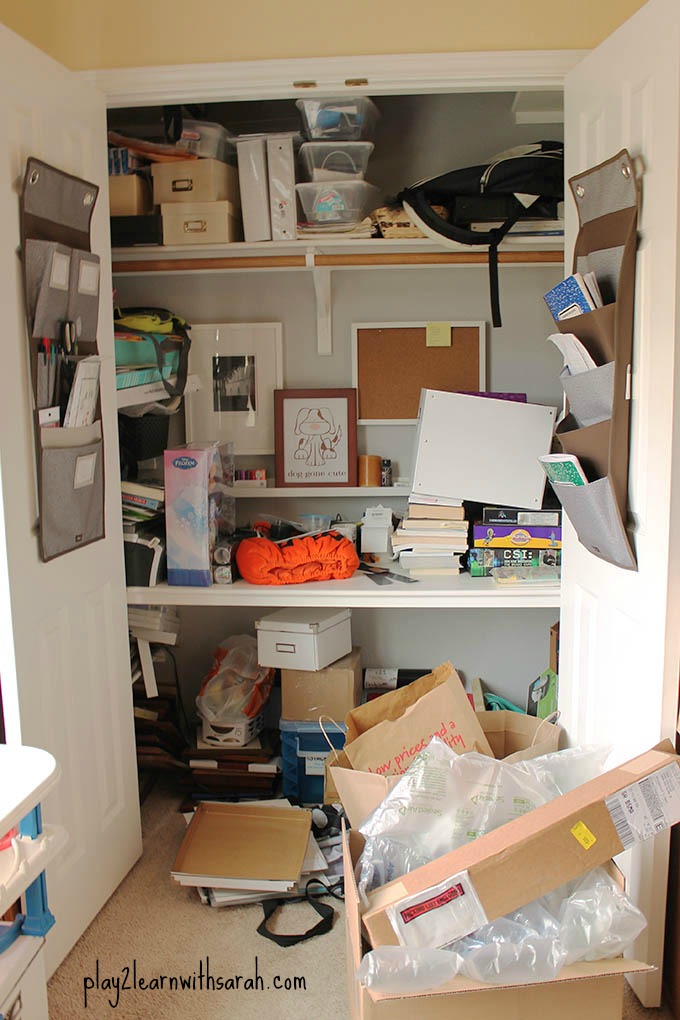
Everything from all the holidays got stuffed in here and here it remained. And just so you know…I cleared some stuff out already! LOL
And what you can’t see is to the left of this picture was a small table because I needed to use it for my laptop to get a signal.
My husband’s desk on the opposite wall.
A table to the right of me with a heat press machine for making t-shirts…and a queen sized bed behind that. There are also 2 dressers and a book shelf crammed in this little room! There’s barely a path to walk. I had to get out.
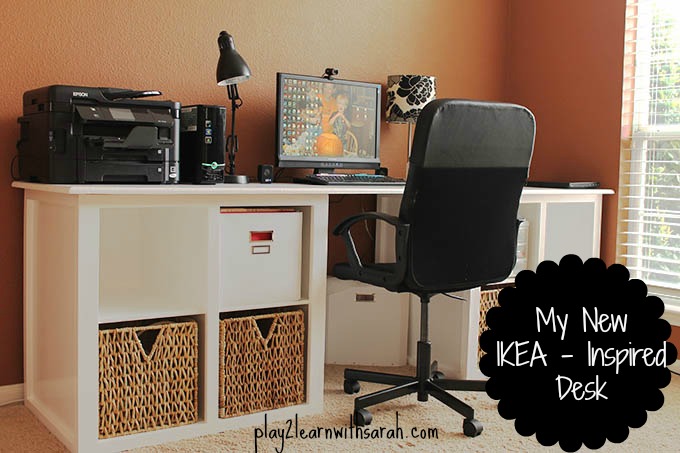
Now I have 4 shelves on either side of me (still need to find the right way to utilize these) plus he’s going to build a standing shelf to the left of the desk.
I have room to write AND use the computer. My printer isn’t crammed in any where and my Silhouette Cameo has plenty of room to do it’s stuff.
The Desk
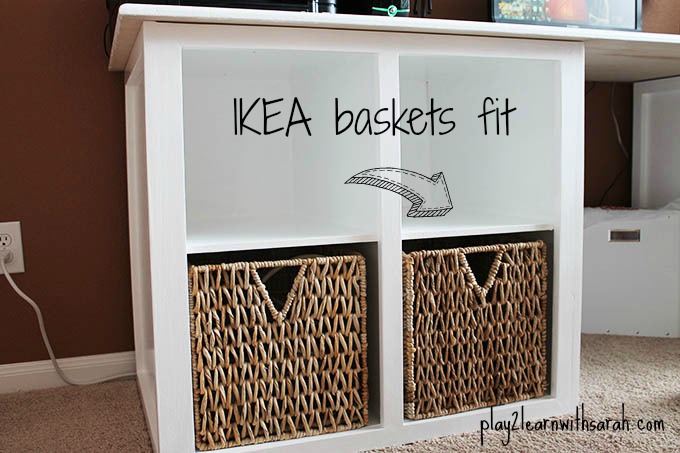
The desk is 8 feet long (one sheet of plywood) and about 30″ high. The cubbies are 13.5″ in all directions so that an IKEA basket can fit in them.
He used 2 sheets of 3/4″ sanded birch plywood and 2 sheets of 1/2″ mdf (for the shelves).
He also used 1 x 2 select pin for the trim.
The outsides and top of the boxes are plywood and the rest is mdf.
He used a basic table saw to cut the wood and his newest Christmas gift, an air compressor, to nail things together (wood glue too).
We had a specific spot that we needed it to fit into (between the wall and window sill) so the top is about 26.5″ deep. The top overhangs the boxes by 1.5″ on the front and sides and 0.5″ on the back (for cords).
I’m still working on getting everything moved in (in between blog posts), but I feel a lot less claustrophobic already! Hopefully I’ll be a LOT more productive too!
OH and the baskets are from IKEA, but I just found some rattan baskets on Amazon that are a little cheaper than these were. It’s totally worth it to go with these sturdy baskets…they hold up much better than the cloth ones….and are a ton prettier too!
A couple of years ago he built our outdoor patio furniture which I still love…you should check out that one too!
Ready to build your own IKEA inspired desk?
