This is the second article in my mom’s home gardens series.
There are very few things in this world that are a true win-win situation. If you are a gardener and decide you want to know how to make your own compost, you will be amazed at the benefits to you, your garden and the planet.
Compost is Mother Nature’s fertilizer. It is the result of the natural process of decomposition of organic material. The goal is nitrogen-rich and carbon-rich compost. There are some tricks to getting just the right combination of ingredients, but overall it is not hard to do.
How to Make Your Own Compost
1. Find a place. You first need to determine an area in your yard that gets plenty of sun. Heat is one of the catalysts required to decompose the organic material.
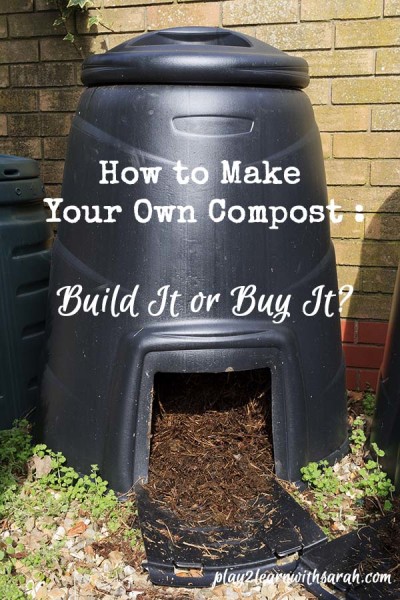
2. Building or Buying? Y need to determine if you are up to building your own Compost Bin, or if you want to purchase one. I discovered a website that gave great information on Compost Bins. It is eartheasy.com. They offer several different types including a tumbler bin (for ease of turning the compost …. We’ll talk about ‘turning’ later) and they offer a double container for continuous composting. Normally, the compost process is 4 to 6 months.
3. Choose the Appropriate Materials. The eartheasy.com website also contains good information about which household and yard waste are appropriate for your compost pile. It shows which items are carbon based and which are nitrogen based.
You want a layered compost pile to give you the best nutrients for your garden. To keep your compost pile from smelling bad and attracting fruit flies and other insects, you would want to make sure that you add a layer of mulched leaves, grass, or other non-food type items last. That will help to contain the food scraps you have added. A final layer of garden soil works well too.
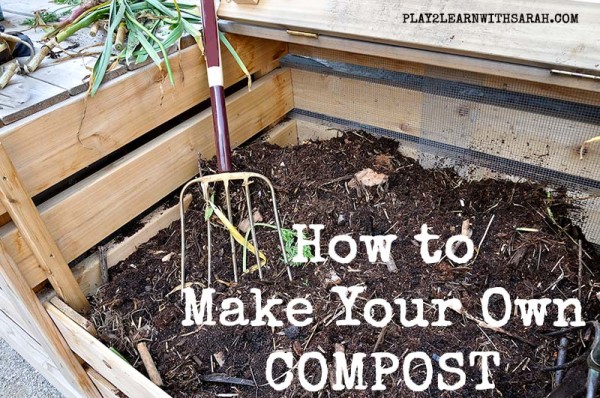
4. Don’t Forget the Bugs. If you choose not to purchase a bin, but make one in your yard, you will want to keep the bottom open to the earth and cover the earthen floor with straw and twigs to allow worms and insects to get in to assist in the aeration of the compost material.
5. Turn, Turn, Turn. Air is another key ingredient for this project. This is where the “turning” comes in periodically during the process. You need to make sure the pile is getting plenty of air by turning it. You can use a pitchfork or rake if you don’t have a “tumbler bin.”
6. Just Add Water. Moisture is another important ingredient. Once you layer the compost material that you are starting with, you will want to water it. It should be moist, not soggy. In fact, it is a good idea to put a plastic sheet cover over the pile when you are done. That will help keep in moisture and heat to make the process happen quicker. It will also keep out heavy rains that may make your compost pile too soggy. You will want to check the moisture when you turn the compost and add water to keep it from drying out.
7. Collecting Food Scraps. The daily process of collecting compost material can be simplified by keeping a covered container in your kitchen (under your sink?). As you clean up the kitchen you can add compost materials like coffee grounds & filters, crushed egg shells, and table scraps to the pail. When it gets full (or whenever you prefer), take it out and dump it in the compost pile, give it a turn, and cover up food items with yard waste (clippings, flower/plant stems, etc.).
Benefits of making your own compost are:
1) Reducing the amount of waste going into landfills
2) Great nutrition for your garden
3) It’s basically FREE
Check out all the cool compost bins on eartheasy! These suckers are amazing!
Have you ever tried to make your own compost?
 Disclosure: This site is an eartheasy.com affiliate, but all opinions are 100% our own.


