Milk kefir is a fermented milk drink that when consumed can provide 1 million to 1 billion units of gut enhancing probiotics.
Probiotics can help balance your gut bacteria and keep you healthy and in “working order”.
Yes, you can eat yogurt, but you should be consuming kefir also. They have different strains of bacteria and do different jobs in the gut.
You can buy kefir in the yogurt section of your store usually but it’s way cheaper to make it your self at home. So here I’ll share my secrets for where to get kefir grains and how to make it yourself.

Where to Get Kefir Grains
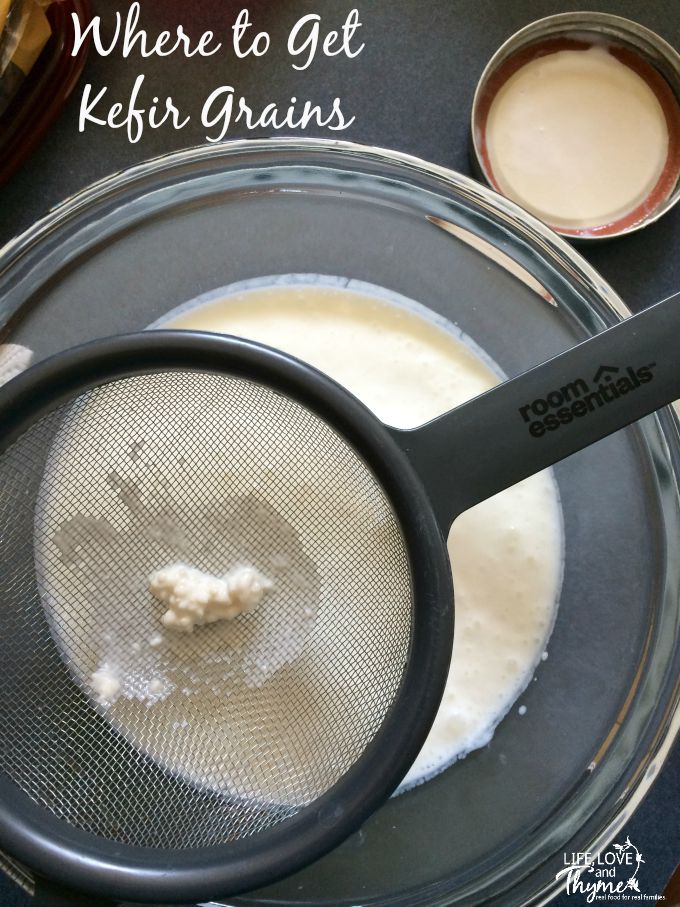
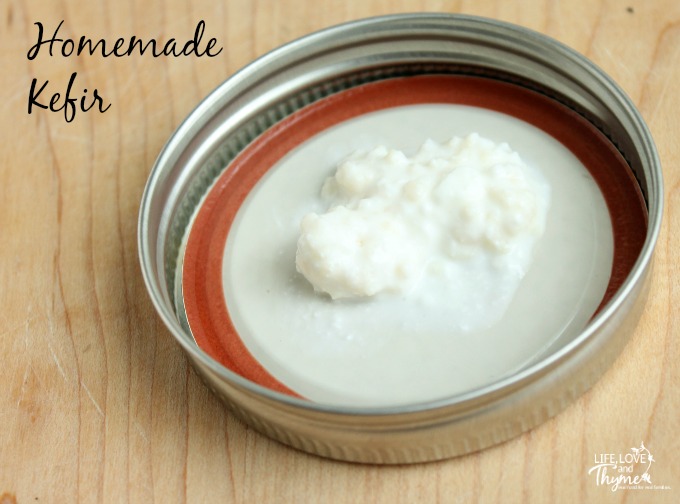
Kefir grains are what you add to the milk to turn it into kefir. They are a combination of yeast and healthy bacteria. They can grow quickly so if you have a friend that makes kefir you can ask them if they have any to spare.
But to get started, you should buy them from a reputable site. I started with an Organic Milk Kefir Starter Kit. The grains are dried in this kit and it takes about a week to rehydrate them and get them ready to make kefir.
How to Make Kefir
Once your grains are ready to go (and since we live in Texas and it’s summer, it didn’t take that long for ours to be ready), it’s really very easy. You just need some organic full fat milk, a glass mason jar, a cheese cloth and your grains.
You put your grains in the mason jar and add the milk until it’s at about 2 inches from the top of the jar (about 3.5 cups). Then cut enough cheese cloth to cover the mouth of the jar. Put the cheese cloth over the jar and screw the lid on over that. Set it on the kitchen counter out of direct sunlight for up to 24 hours. (At my house it only takes about 18 hours.)
For me…I don’t like when my kefir get too chunky. So I watch it and will strain it when I see the curds and whey begin to form on the bottom of the jar (you’ll see about 1″ of liquid on the bottom.
When it’s time to strain it, I use a glass bowl, a wooden spoon and stainless steel wire strainer. Shake the jar a little to try and remix the contents (it can be hard to separate out the grains if you let it sit out too long).
Just set the strainer on top of the glass bowl and dump the contents of the mason jar into the strainer. Then use the wooden spoon to gently move the grains around until most of the kefir has passed through the strainer and you just have the grains left.
If you want, you can go ahead and make another round of kefir. If you have plenty and want to wait a few days, then you need to put the grains away to rest.
To rest the grains, put them in a mason jar (I use a smaller one since I make it at least weekly if not twice a week.) Cover them with 1 cup of milk. Put the lid on top and then place the jar in the refrigerator for up to one week.
If you need to leave your grains for longer, then just use 1 cup of milk per week that you need to leave them (if you’re going out of town or something) and place them in the fridge. They should last you a very long time as long as you care for them properly.
My homemade kefir tends to have a little bit of a chunky texture which is hard to sell to the kids. I use it to make fruit smoothies.
Be sure to follow my Smoothie Board on Pinterest for more yummy smoothie recipes!


